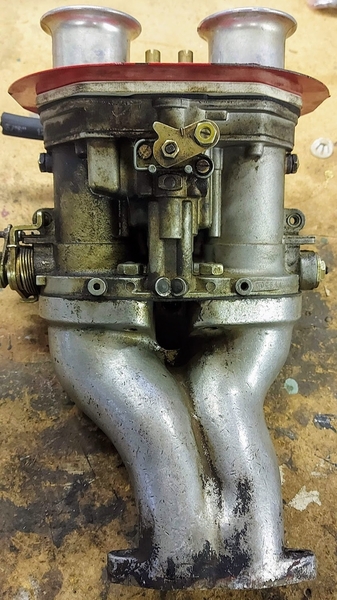
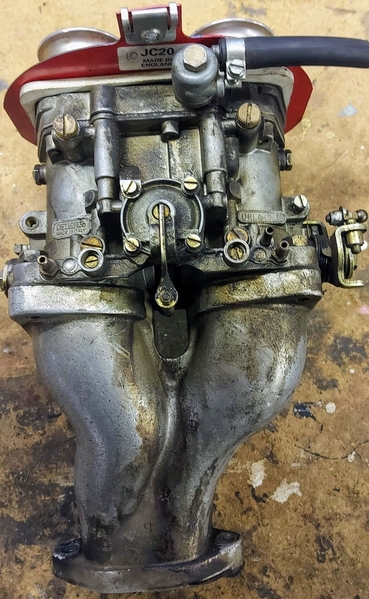
Now I've got my Dellorto Super Performance handbook, I've started to dig out the carbs from the engine bay and begine the careful process of cleaning them. For now I'm working on the right carb only and even to my uninitiated eyes it's filthy dirty!
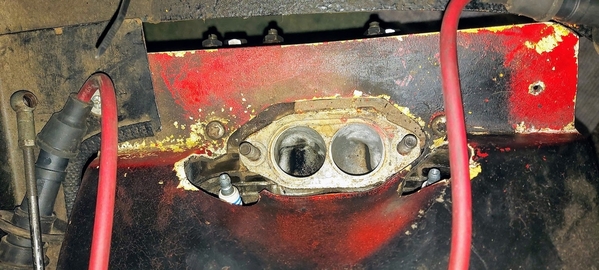
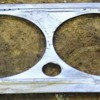
 First off, pull the plug leads then thank goodness for small hands as I squeeze them into the gap to get a 12mm spanner on the manifold bolts. You'll see here the fibreglass shroud cut away to allow access, but it's been a bit bodged to make everything fit.
I know a lot of you will say ditch the shroud and go back to standard cooling, but this is a learning car for me and I don't want to spend unnecessarily. I'll go with what I have for now and if I get another I'll go the stock route.
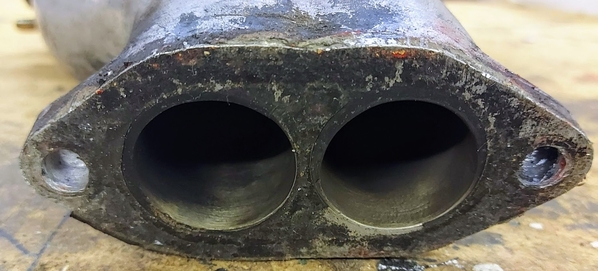
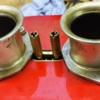
Anyway, you can see that, as well as loads of crud on the manifold (bad seal, obvs) there's red paint(!), which means the manifold has been bolted down onto a corner of the shroud, so no wonder the car was popping and banging.I'll have to get the dremel out on the shroud once I remove it.
The PO was charged a a few hundred quid by his preferred aircooled 'specialist' to clean the carbs before he sold me the car and I bet all they did was take off the air filters and stick an air hose down the intakes. No noticeable cleaning took place (nor did they clean out/replace the fuel filters). If you want something doing properly, do it yourself, eh? To be fair, £200 would barely cover the time needed to strip down one carb, let alone 2 and the rest of the fuel system.
The gasket is pretty mangled as well so that wil be replaced.
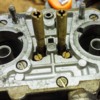
So, here they are in all their mucky glory:
The distributor uses a vacuum advance from the right carb. Also the No1 cylinder mixture control screw was wound out 4.75 turns compared to No2's 3 turns. I'll check the left carb but that might explain why the exhaust pics on a previous post are sooty for 1 and 3 and clear for 2 and 4?
Anyway, time to start stripping the carb down and cleaning everything up. I have my trusty air hose and an ultrasonic cleaner large enough to take one whole body, and some Simple Green (which is tricky to find in UK, but reasonable price). I'll document everything on here (as a carb novice) in case it's useful - if I search for 'DRLA' on this site all I find are old adverts for owners selling them!
One thing I will say - the way these carbs are mounted means it's almost impossible to adjust when in place. The adjustment screws are all facing outwards and there's precious little space in a Chesil engine bay.


