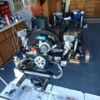
Hi everyone. I bought an old pan-based Intermeccanica Speedster back in August and have begun the rebuilding process. I have to express my thanks to all of you who post information about your cars and share your knowledge. I've found it more helpful than you can imagine.
Oooh baby!
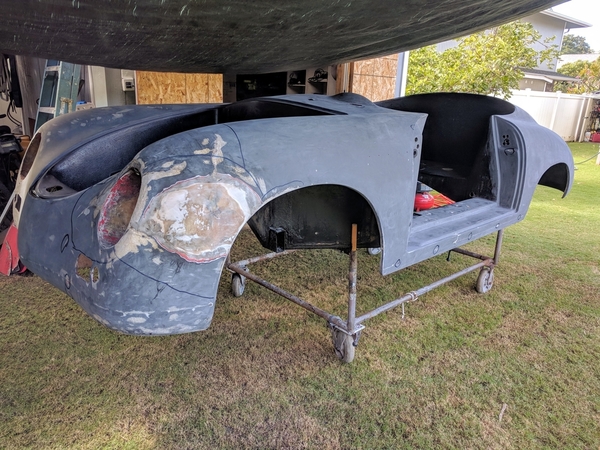
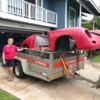
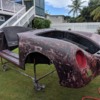
The Car: One of the original California IM Speedsters. I'm not sure when it was built, but the pan is from a 1969 beetle and it has a California VIN sticker. The guy I bought from is a North Shore (Maui) artist who made his millions as an auto racing artist. I had a blast hearing his stories about Steve McQueen and a load of the old F1 drivers. He bought the car used in 2000, drove it for 3 years and then parked it to begin a rebuild. He made great progress on the chassis and drivetrain and then lost interest. The body sat outside (100 yards from the surf) for 14 years with the expected results. The chassis sat in a garage for the same amount of time and was in great shape. After lots of convincing, he parted with it and I got a new project.
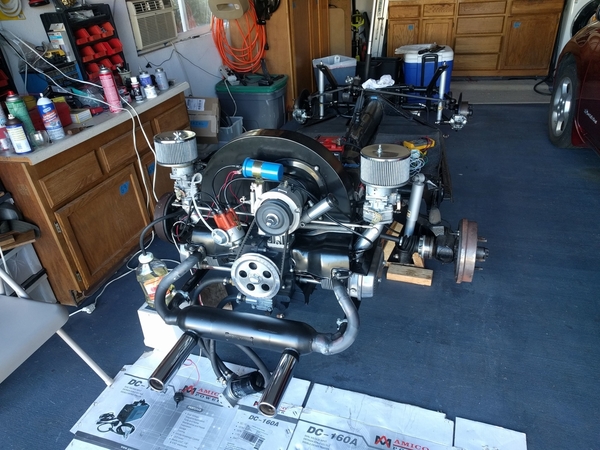
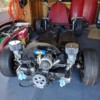
Not bad for sitting unstarted in a garage for 12 years
Background of the Plan: I've built and raced several scary fast cars and sold them all when we retired to Maui (our son and his family live here). Maui has WONDERFUL roads for driving, but also lots of distracted visitors in rental cars and on bicycles. I didn't want a car that tempted me to do something stupid, but I needed something for top-down fun. The last big build I did was a franken-911 cabriolet based on a 1982 911SC chassis rebuilt with the body panels from a 1995 911 Turbo. The engine was originally a 1979 930 (blown up). I bought a disassembled 1982 3.3 930 engine and took the best parts from each. It took me nearly 2 years to complete and put out 425 hp at the crank (de-tuned). So, it was a tribute car to the Porsche 993 Turbo Cabriolet that Porsche never sold to the public (they reportedly made 13 for friends of the family). It was rough, raw, competent and loads of fun. My wife drove it often, but complained about the pedal placement and lack of power steering etc. She had a 1996 911 cabrio that she thought was just the ticket (sold, too). So, my goal was to find a fun, sporty, but not dangerously fast car that we could use on our adventures around Maui. The IM Speedster ad showed up on Craigslist and I was sunk.
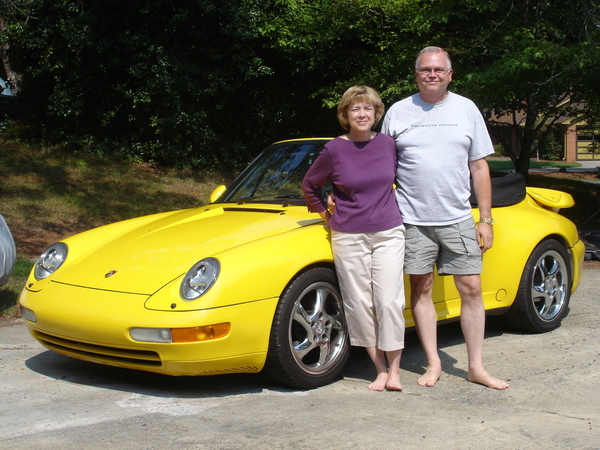
Der Beast and my Co-pilot
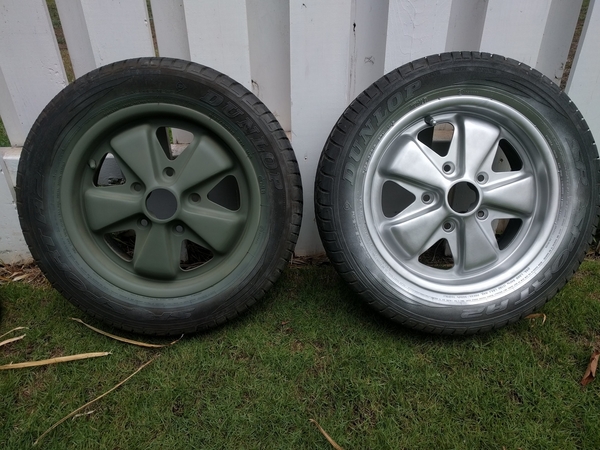
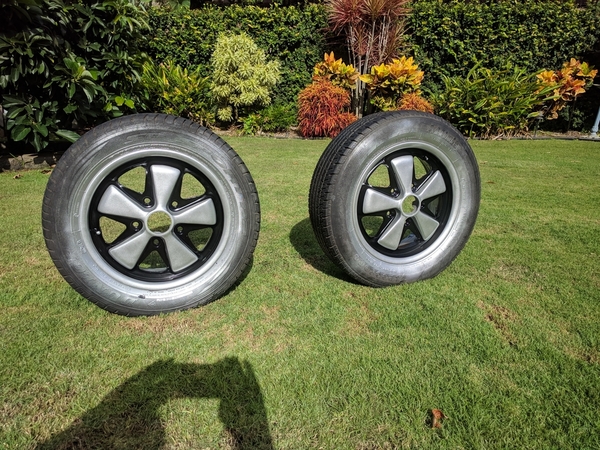
The Plan: We were always put off by snobbishness and the purists who thought that cars should never be customized. It is just a car, and different things make different people happy. I like to customize things and to tinker. I would never want a car that I'm afraid to take out driving. We lived in Rhode Island for six years (sorry Gordan, I don't think we got a chance to meet) and never locked the 911 turbo the whole time (replacing the cabrio top would have been lots more expensive than anything kept inside). The IM Speedster is just what I've been looking for. After talking it over with my co-pilot, we decided on silver paint and tan top/interior. I like the mild outlaw look, so it won't have bumpers and side trim. It came with silver fuchs that will be refinished with the black background, silver spokes Carrera look. I'm adding an oil pressure gauge, a clock and will try to tastefully add air conditioning (it is Maui). The engine is a medium-tuned 1776 that was freshly rebuild 12 years ago (0 miles on it). It has a new (12 years ago) Rancho Pro-Street IRS transaxle, all new suspension bushings, brakes, etc. The chassis had a new German floor pan and a coat of POR15 (really nicely done and well preserved). The steering wheel had been stolen, so we decided on a vintage Nardi wheel.
Progress Update:
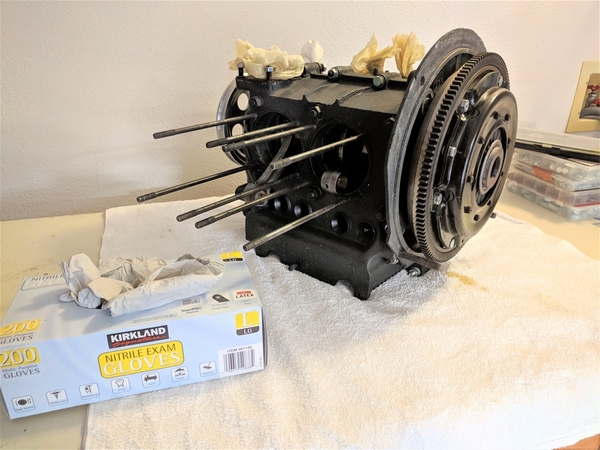
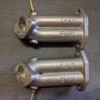
The engine didn't turn over easily so I took it apart. Mild rust had set in and was easily fixed. I put it back together doing a few performance/durability tweaks along the way. The spark plugs showed the classic lean idle problem on two cylinders that comes with most Kadron dual setups. I went ahead and modified the intake manifolds to allow the mixture to swirl a bit more before entering the heads.
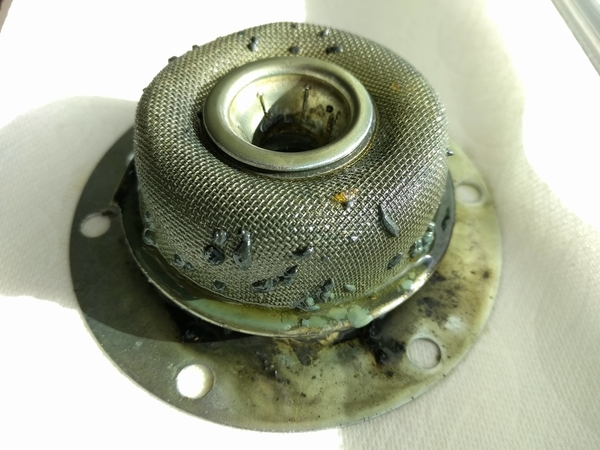
One of Kadrons worked perfectly and the other was the bastard from hell. It had gasoline gum left over from 12 years ago when the builder tested it. After 3 rebuild attempts, it finally works and the engine runs well. No Oil Leaks!!!
Maybe it needs an oil change...
Surface rust and some sticky lifters that cleaned up easily.
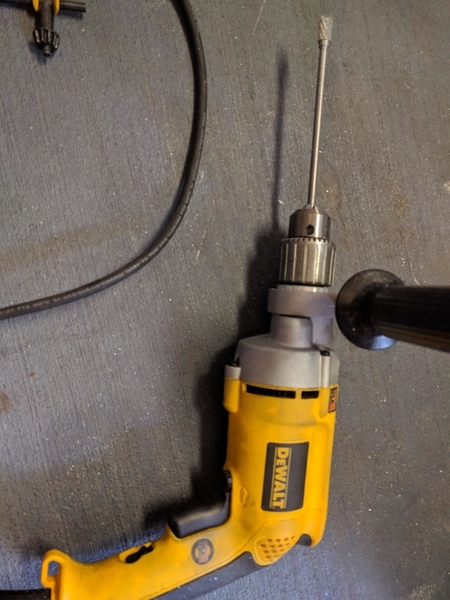
Intakes need some surgery.
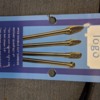
Long shank burrs bought cheap on Amazon.
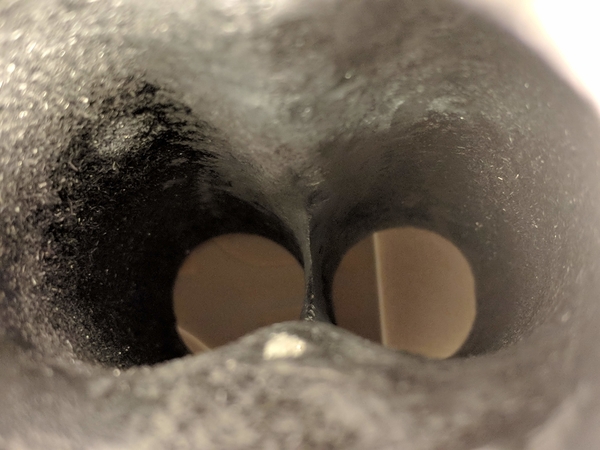
Not much of a chance for air/fuel to mix as it comes from the Kadron
Ah, much better (yes, I cut through the side accidentally - easy fix with J-B Weld)
It's Alive!!!
The Body
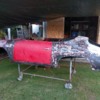
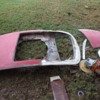
Over a period of time, I applied Aircraft Fiberglass Paint Remover and scrapped off several layers of paint and primer. I then sanded the remaining bondo and paint down and sometimes through the gelcoat. There were lots of little cracks and chips that had to be ground out. There was an unexpected accident repair near the driver's headlight that will need substantial attention.
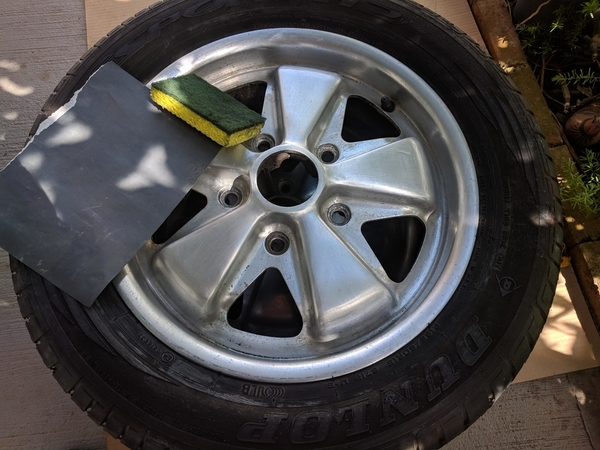
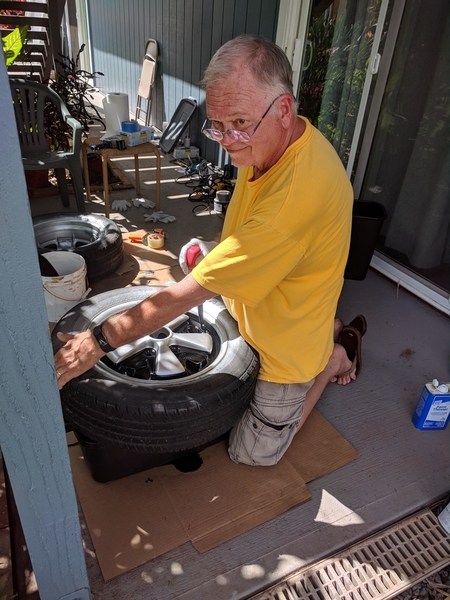
Fuchs need some attention
Why yes, honey, I do know where the turkey baster went...
Just what I was looking for. The 18 year old tires have been replaced with Michelins.
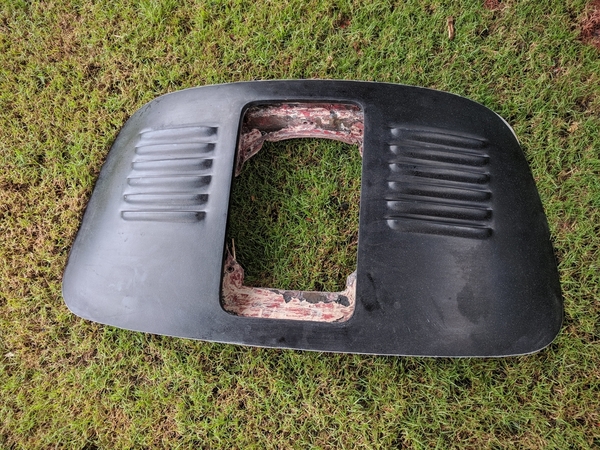
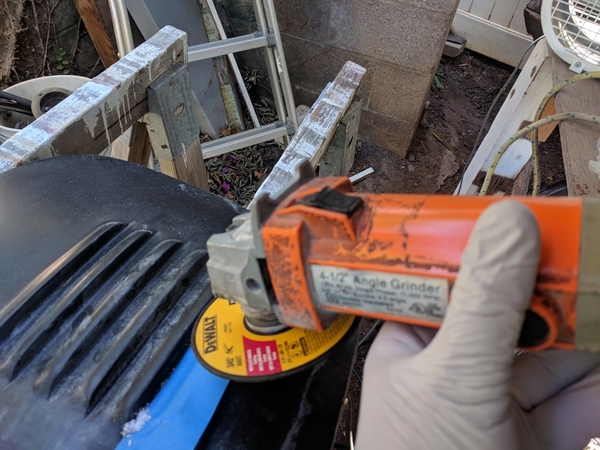
I wanted a louvered decklid for the engine and bought a skin from Greg Leach at Vintage Motorcars. I ended up buying seats, interior, carpet and other miscellaneous items from Greg. He and Anna are great to work with! Greg said to cut the top off of the original lid leaving as much of it as possible and then bonding it to the skin. He suggested waiting to cut out the louvers until it had been bonded. I fitted the base of the lid to the car and fitted the new louvered skin on top. I had to grind a few spots on the lid base to get the skin to fit well. Once it was in position, I drilled two locator holes and pinned the louvered skin and the lid base together. I pulled it out of the car and unpinned the skin. I wire brushed the contact areas and cleaned them with acetone. I used a thick coat of fiberglass resin on both pieces and then pinned the pieces together. I used clamps to hold the skin to the base while the resin set up and let it cure for 2 hours. I then applied resin to the joint inside the lid between the skin and the base and ran a strip of fiberglass around the inside wetting it down with resin and squeezing out bubbles where I could see them. I then let it sit overnight. Using a cutting wheel on my angle grinder and touching up with a dremel tool, I cut out the louvers (remembering to use eye and breathing protection).
Very scary...
Bonded
Even scarier..
Phew!
Next up will be cleaning up the cutouts and doing final adjustments to the decklid fit. I'll post updates as things progress.
Thanks again to everyone for making this site a welcoming source of knowledge, advice and opinion ![]()


