Final tough dashboard thing: A/C vents
Why so tough: I'm putting two vents into the dash (two will go underneath aimed towards our feet). I wanted the vents on the outside edges of the dash and unfortunately, the dash curves there. Also, the vents were set up for a dash thickness of around 1/8" where the IM fiberglass is around 1/4" thick in the dash area. You have to cut a relief around the back of the hole in the dash so that the vent attachment pipe can screw on. Did I mention that this is all happening on a curved surface...
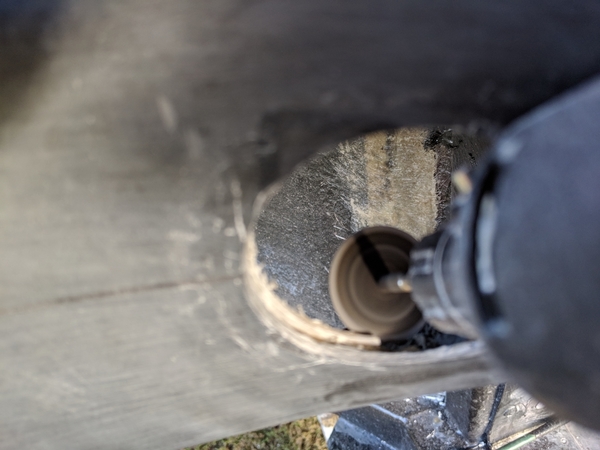
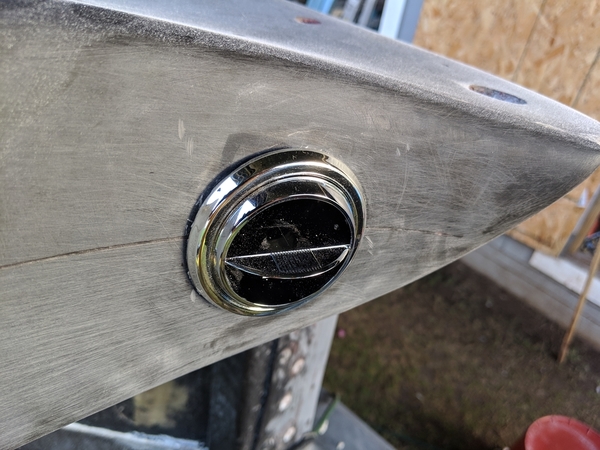
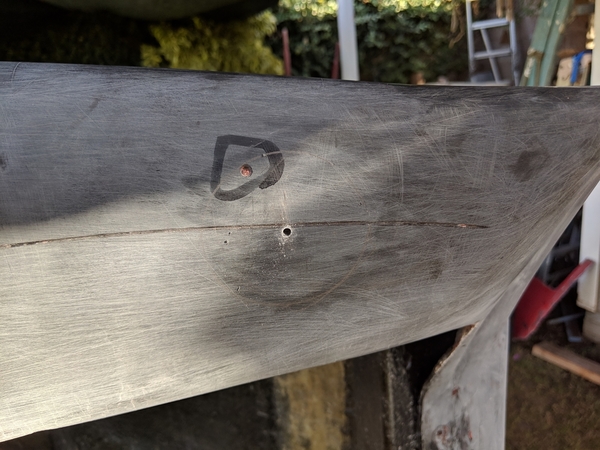
The vents are set up for 2-1/2" holes so a hole saw of that dimension was procured (thanks, Marianne). The ends of the dash are very different from each other in dimensions and curvature. In the end, I set up the driver's side the way I thought looked best considering the adjacent headlight switch and gauges and drew a 2-1/2" circle in pencil there. I then eyeballed the passenger side location trying to achieve visual symmetry. Like usual, once I had some test markings on the passenger side, I had Marianne take a look while I was holding the vent in place. Once we were both happy, I marked it. I found the centers on the holes, used a small drill to start the center and then used the hole saw to make the holes. Since I was cutting on a curved surface, I tried to drill evenly into the curves (meaning the vent would be pointing slightly towards the center of the car). This reduced but did not eliminate the problem of the vent seating flat on the curved surface.
I inserted the vent into the opening and then used a small strip of sandpaper to cut down the places where the vent touched the face of the dash. Once those were well marked, I used a thin Dremel disk to trim away material from the back of the vent edges until it sat close to the curved surface of the dash.
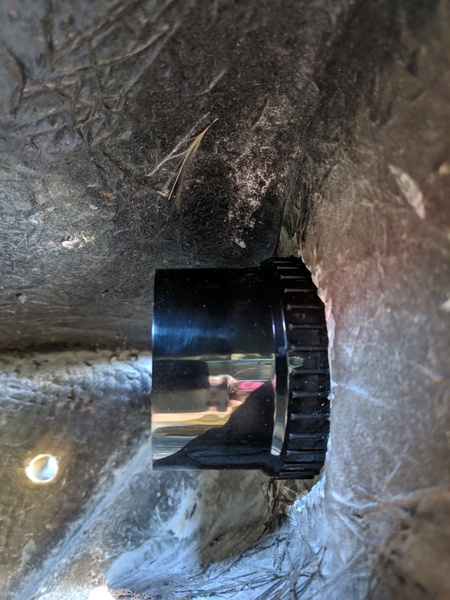
The dash thickness had to be reduced from the back to allow the threads on the vent pipe to engage with the threads on the vent opening. I used both a Dremel grinding wheel as well as a cutting wheel, just running it around the edges and removing an approximately additional 1/4" outwards from the edge of the hole and leaving the dash approximately 1/8" thick in that perimeter. The vent pipe could then be tightened onto the vent holding it in place. Of the two tools, the thin cutting wheel seemed to be the most efficient.
Holes will be made in the top fender corners to allow the cold air hoses to get to the dashboard vents.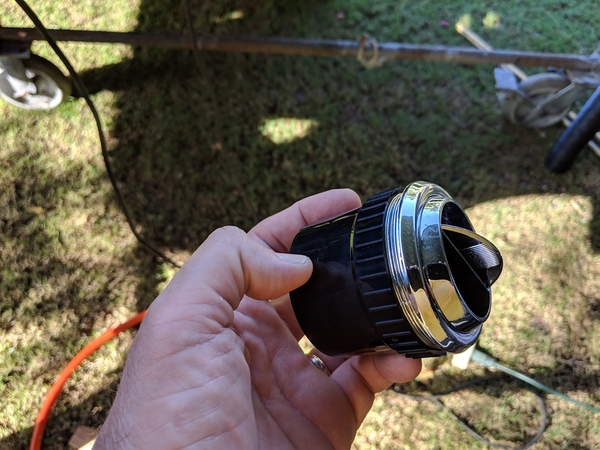

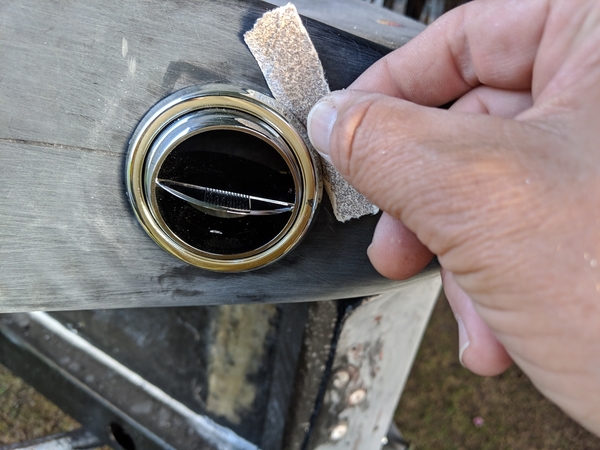
Marking the back of the vent where material needed to be removed so that it would fit the curvature of the dash
Trimming the back side of the vent to fit the dash
Thinning out the back of the dash
I cut a circle around the perimeter and then chipped away the rear part using the cutting wheel
Simple, slightly retro appearance and functionality were the goals
Mike


