Ok, back from a great 2 weeks visiting family in Japan. Every time I go I marvel at the safety, the thousands of unlocked bicycles in big cities and the general level of what we in Hawaii would call the aloha spirit. Neat folks.
I've got my IMs doors test fitted and adjusted. This forum was very helpful, but evidently a gentleman named Corey had shared a step-by-step that I was never able to find (looks like he's no longer a member (Projekt Hoopty?). Anyway, I went ahead and started the setup with 12 - 3/4" long pipe spacers between the door posts and the body side hinges. I suspect each car may have small differences depending on how the body frame jigs were set up. In my car, the body frame had been rebuilt totally, so I ended up tweaking the spacers (1/16" out on the bottom and 1/16" in on the top). Here are the steps I followed:
Adjusting CMC/FiberFab/old IM doors
- Tape about three pieces of cardboard to the door sill.
- Sit door on the cardboard spacers and look at how the bottom gap appears. It should be level and less than 1/4 in
- Look at the rear of door gaps and the front of door gaps. To get the door to actually fit within the door frame, it's likely that you'll need to sand off of some the rear door edge and some off of the top front inner edge of the door. Start first on the front of the door towards the headlights. look at the existing gap and try to make it consistent from bottom to top. You will probably have to sand some of the outer edge of the dashboard to allow the door top to fit flush. It's okay to carefully sand some material from the front top of the door where it touches the dashboard. Slide a piece of paper in the gap to find tight spots and mark the area that needs relief with a wax pencil. Once you have at least some small gap all the way along the front of the door, move to the next step

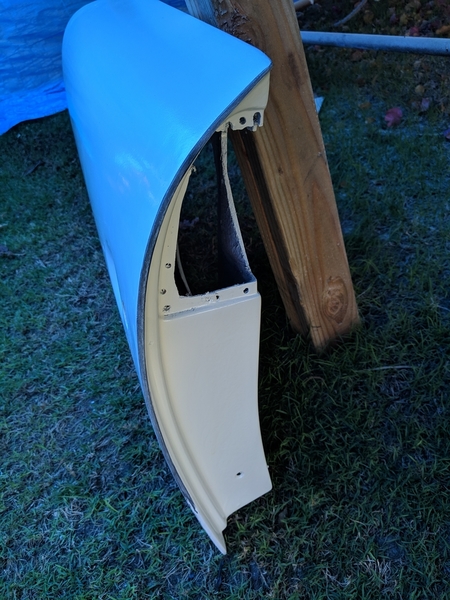
- Sand the rear edge of the door so that it will fit within the body frame. Don't take off too much material at this point You're just trying to get the door inside the frame.
- When the door will fit flush in the frame on the front, back and bottom start looking at your gaps and decide where you need to take material out. Sand just a little bit at the time until you have at least a little bit of a gap all the way around. Don’t look for perfection yet and don’t take too much out.
- Insert 3/4 inch long pipe spacers into the hinge bolt holes in the body until they butt up against the frame. Attach the hinges to the body frame and tighten firmly (small part of the hinge attaches to body, large part attaches to door).

- Remove the cardboard spacer from the floor and attach the door to the hinges loosely. Rest it on something while you line up the bolts and bolt plates. Remember to use two short bolts on the top of the top hinge. Tighten slightly until the door can still be moved but will hold the position.
- Try to close the door and then do some gentle adjustments to the bottom gap and the front & rear gaps. Loosen and tighten the hinge screws as needed to shift the door.
- Once you can get the door within the frame, work on getting an even bottom gap - 1/8” or so.
- Once you have a fairly even bottom gap, see if the bottom of the door is even with the edge of the body. On both of my doors, it was sunk a little inwards from the body along the bottom edge gap. If it is inward, you will need to add spacers on the body side of the small pipe spacers to move the bottom hinge outwards. If the bottom edge protrudes past the body, you will need to grind down the pipe spacers 1/16th inch or so.
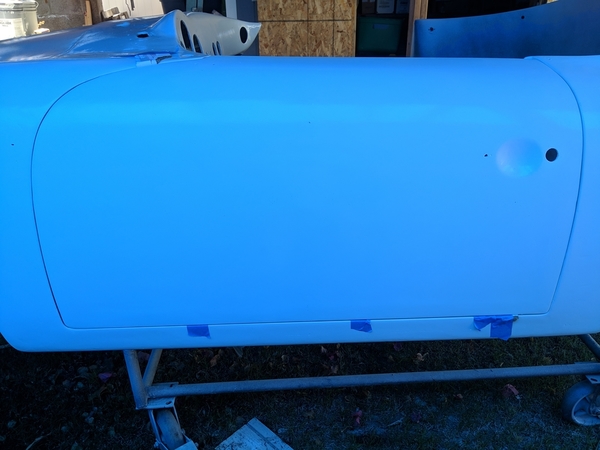
- Before removing the hinges, take a pencil and mark around the sides and front of the hinges where they currently are located. This makes it easier to get back to your starting point. Remove the bolts from the hinges and take the door off. If the bottom needs to come out, add three flat washers to the screws attaching the hinge to the body at the bottom. If the bottom needs to move inward, remove the pipe spacers and grind off around 1/16th inch from each one.
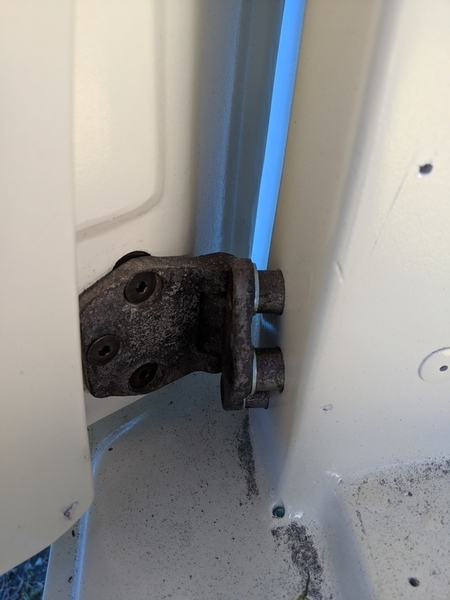
- Reassemble the door hinges hand attach the door again putting the hinges back at the marks you made.
- Close the door and check the bottom gap again. Repeat the adjustments as needed until the bottom is flush. These adjustments will alter the flushness of the top of the door and may squeeze out any gap you had along the top (sand a small amount if this occurs).
- Check the top of the door and see if it leans out from the body or leans into the body. If the top of the door leans out from the body then you will need to take the pipe spacers out and grind them down a 16th of an inch or so to help move the top back in. Keep adjusting the top spacers and the bottom spacers until the door is flush at the top and the bottom.
- Once the top and bottom are relatively flush, you can finalize your edge gaps. Recheck your gaps all around the door at this point. You're on the final leg now and can use fine adjustments to the hinge positions and edge sanding to achieve the gaps you want
- If you have done all of the adjusting and have achieved good gaps and flushness with other body surfaces but still have one corner or part of a door edge that sticks out, you will need to sand the surface of that corner until it matches the body outside of the door. I run a paint stirrer across the gaps to see if it strikes an edge that is sticking up. I mark those spots with a wax pencil and then open the door and sand across the edge to lower it.
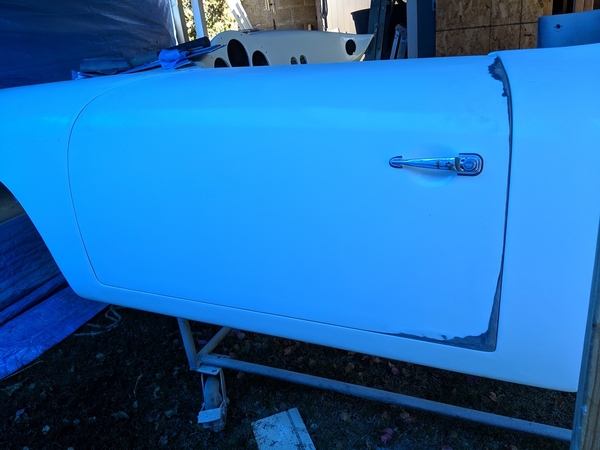
- Don’t look for perfection. If you are doing these things, you’re going to be doing some touch-up or a total repaint. There are opportunities in the filling/painting stages to make the surfaces match up well.
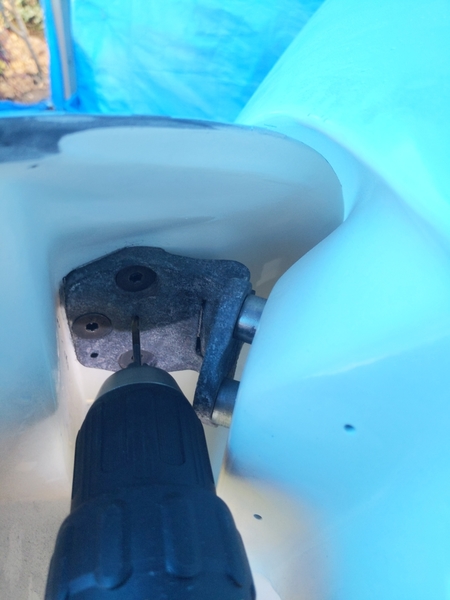
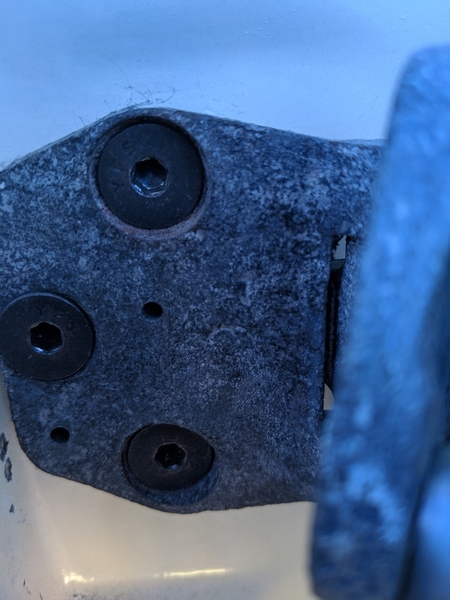
- A final important step: drill two small nail-sized holes in each hinge where it attaches to the door. Go all the way through the hinge, the fiberglass and the bolt plate. Label/mark and keep each hinge with its matching bolt plate. Mark the side of the bolt plate that faces the hinge. This way, using nails/pins in the locating holes, you can return to your alignment on any particular door if you have to take it off (say for painting) in the future. Keep each hinge/plate pair in a separate, marked zip lock bag to be sure they don’t get mixed up.
Have a great weekend everyone!
Mike


