So I'm just about finished up with butt sag repairs on my CMC widebody. All that's left is undercoating and re-securing the oil cooler lines and remote oil filter. Before wrapping up these last minute details, I took a few photos and wanted to post them along with details of the repair, for the benefit of anyone else contemplating this task.
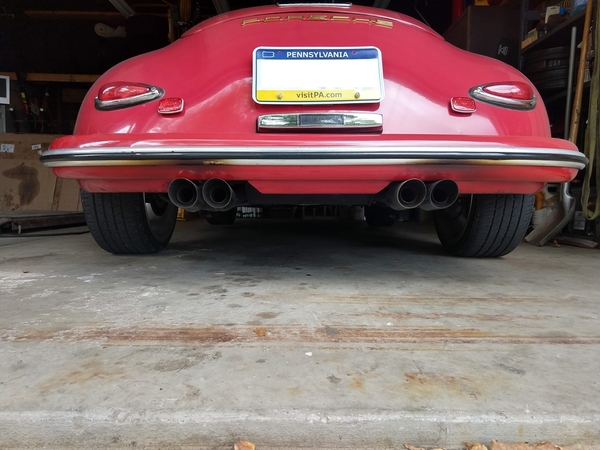
Before I started, the rear bumper was rubbing the exhaust tips. I pulled the car onto my low-rise lift, supporting it with wooden blocks under the pan edge at the front and the rear beam. I removed the wheels and supported the rear of the body on each side with a pair of floor jacks an blocks.
I used a right-angle drill with a 1/4" bit to drill out the existing rivets securing the inner fender wells to the box frame. Whomever built my kit glassed the rear of the engine compartment to the rear crossmember of the box frame, so I had to cut that loose. I loosened the bolts securing the CMC roll bar to its brackets, since I wasn't sure whether or not it would move with the body. Then I jacked up both sides of the body until the door seam gaps improved. At this point the rear bumper cleared the exhaust tips by about 7/8".
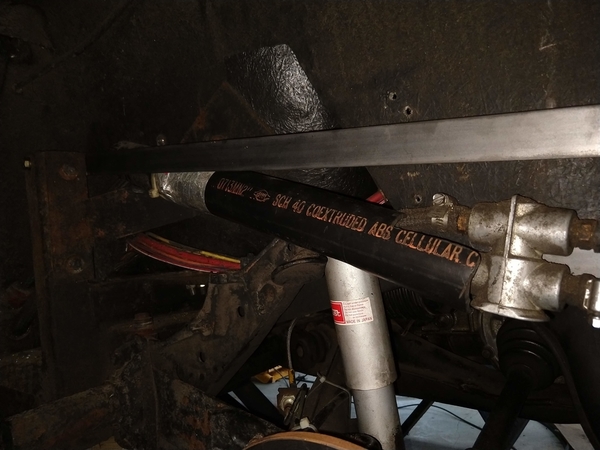
I bought three sections of 1-1/4" x 1/8" x 4' mild steel strap at Lowes. I cut one section in half, making two 2' lengths to be used as clamping bars to hold the inner fender wells against the box frame. I drilled 1/4" holes every 2" from one end to the other of both. I enlarged the last hole on one end of each to 3/8" to accommodate the bolt for the diagonal brace. The last two sections were cut to 47", with two 3/8" holes drilled at 45" apart, to be used as diagonal braces.
I drilled a transverse 3/8" hole at the top of each of the short pillars in the front of the rear fender wells. These holes also extend through the CMC roll bar brackets. I attached the front of the diagonal braces to the inside edge of the pillars and snugged the bolts. I drilled the box frame for the 3/8" bolts at the rear of the diagonal braces using the braces to guide the placement of the holes. I inserted bolts through each hole to guide placement of the clamping bars.
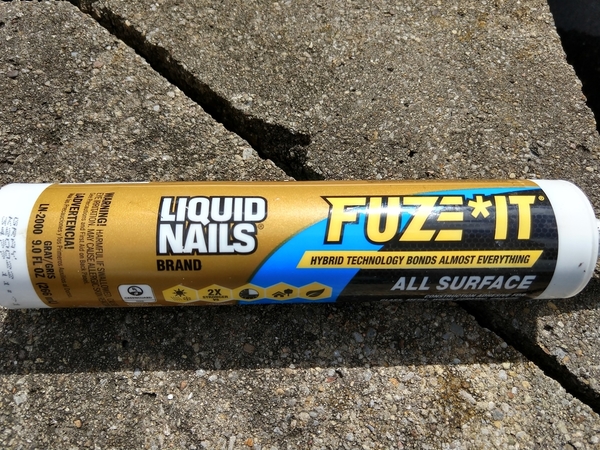
Before installing each clamping bar, I applied a bead of Liquid Nails Fuze-It all-surface adhesive between the inner fender well and box frame, and another bead to the inside of the clamping bar. I used small bar clamps to draw out the excess glue and hold everything in place while I drilled the holes.
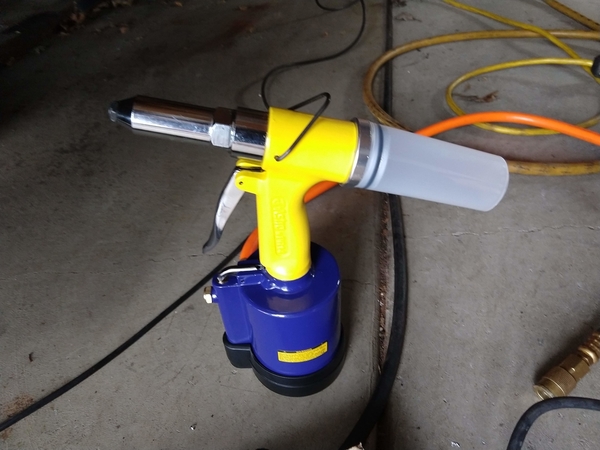
Rather than through-bolts, I used 1/4" blind rivets, POP brand, P/N AD8375UG, to secure the clamping bars. These rivets are used to hold semi-trailers together, and have a grip range of 0.8" - 0.375", which is perfect for this application. I used an air-powered rivet gun, Astro model PR14, available on Amazon, to install the rivets. Take off the tailpiece to access the last couple of rivets in tight quarters.
After the clamping bars were installed, I bolted in the rear of the diagonal braces and tightened the hardware. When I let off the jacks, the body settled about 5/8" above the exhaust tips. The door seams look much better, but not perfect, I was expecting a tad less settling. However the door latches now both function smoothly, and the rear end seems stiff, so I'm pleased. I've attached some photos.


