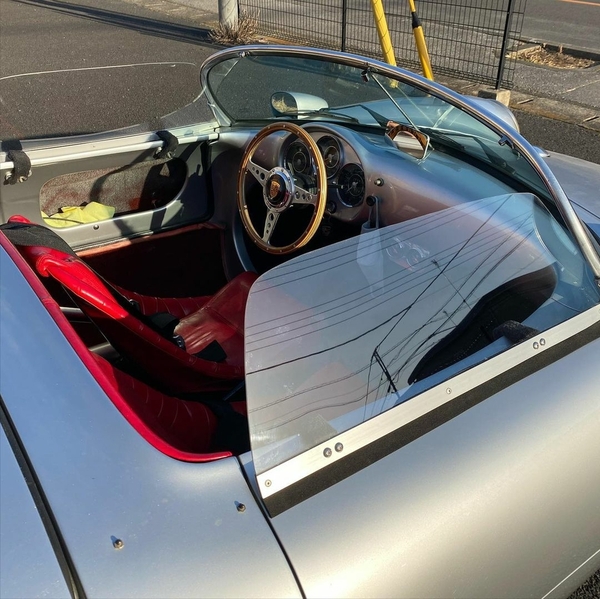
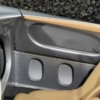
These look like Wind Deflectors only
https://www.instagram.com/p/CLyZainJsn6/
They look like they'd fit into the pockets of the top to me. The top clips are right there on the windshield header. I'd wager this car also has a top, but it was cool that morning when the owner set out.
Not trying to be a smart-a$$, but I'm curious as to why a Spyder owner wouldn't want to duplicate the door-top bumper that everyone uses on a Speedster in which to mount the sockets for the side window pegs, rather than drill into the door?
The door-top bumpers give almost 2" of depth so that the socket tube can't move about at the bottom end, making them pretty strong for the window pegs. I don't know how strong they would be if put into the door unless they're backed up with something inside of the door.
The bumpers could even be removable, I suppose, if you're only going out in nice WX.
Because they'd be REALLY ugly on a Spyder. A Spyder cockpit is quite narrow compared to a Speedster. But they use the same windshield.
The door tops you seem intent on Spyders using would be about 2" wide on top of the door and extend outward: UGLY.
A Spyder is supposed to be a spartan race car, not a Speedster or a Roadster D. The few creature comforts mine has are hidden from view: heat, defrost, heated seats, and Bluetooth amp/speakers. If I ever get around to finishing the top, it will follow the same ethos: unobtrusive and only noticeable when installed/in use.
The side curtains/windows must sit a couple inches from the inside edge of the door. I still think a couple ferrules will look just fine and not be very noticeable.
Got’cha. 👍
I looked back at the photos and now I understand the problem.
Thanks!
Upper door trim, or a door top bumper (if it's filled with rubber).
Something for your shoulder to rest against (50% of the time) when riding with Danny P on a twistie back road. ![]()
Width is thin.
The real challenge comes when you factor in the curve of the door. Spyder doors are not like Speedster doors.
Ed......Probably best to slice 1/8" strips of wood, bend them around a form that matches the curve of the door one at a time, glue and clamp them to the bend. Make it as thick as you want. The height is your choice..........Bruce
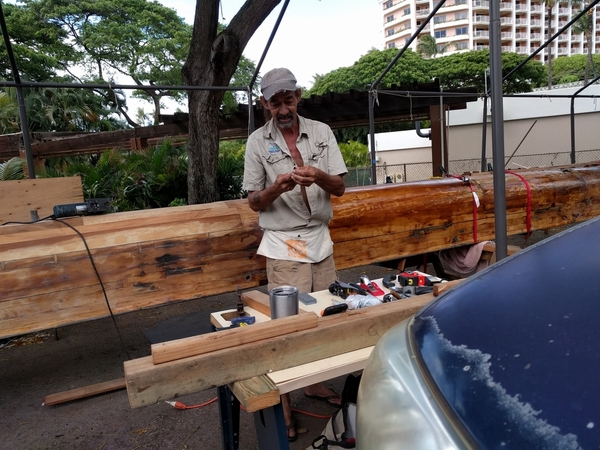
About 5 years ago one of my native Hawaiian friends asked me to help him rebuild a 70ft long 150 year old koa canoe. He was a master canoe builder and was very exacting. The koa boards that we were using cost around $1M for a 1/4 tractor trailer load. We even saved the sawdust.
There were hardly any flat surfaces and absolutely no rectangular boards, but we could handle most of the curves with japanese saw work and a lot of sanding.
The bow was different. Mac showed me how to bend the koa planks using a steam pipe. It was basically a pipe angled at 45 degrees with a metal boiler at the bottom end. You take a big propane burner and point it at the boiler. You stick your lumber into the pipe and drape a towel over the open end and then let it steam for a few hours. Then you bend it into place and clamp it for a day or so depending on the thickness.
Trust me, there are a lot of koa canoe building details that I'm leaving out and yes, I wasted some wood. Mac is an ex-Marine so I learned some phrases that I'm pretty sure are anatomically impossible.
Long story short, if you are feeling frisky, try steaming the wood.
Mac telling me that I'm more trouble than I'm worth:
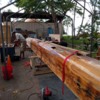
That's the plank that I'm supposed to fit into the gap (several days later, it worked):
The stern view and you can see the kind of bending needed at the ends: Good luck, Ed. Let me know if you want to do it in koa!
Attachments
A friend of mine built a kayak from a kit. He really enjoyed the process, and it was beautiful when finished. He sold it and made a tidy profit as I recall. It did take a lot of love and labor, so there's that.
Mike, Mac sounds like the kind of character I'd love to meet!
Another way to "steam" wood for bending is to put it in an appropriate PVC/ABS pipe and fill with water and Downey Fabric Softener. (1/2 gal per 5 gallons of water) Let it sit for a few days, take it out, bend it over your form. and let it dry in tension. About a week in the sun. Last time I used this method was for 8 chair backs. the material was Red Oak, 3/4" X 6" X 16".
Here's a photo of a ships helm wheel I built from scratch. The outside rings are laminated 1/8" thick X 1 1/4 inch Red Oak strips formed INSIDE a plywood ring form. The nice part about this procedure is that very little clamping is necessary, the butt-joints are perfectly tight and it's done in a continuous "spiral" that gets smaller and tighter with each layer. A router centered on trammel bars will bring the inside and outside circumference back to round plus provide perfect tapers to the end strips both inside and outside final strip. No steaming or fabric softener is needed for this job.


