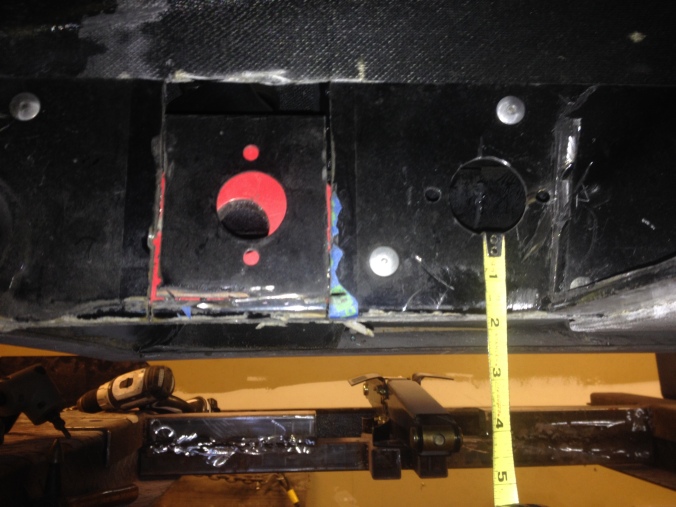
Overall, welding is skill that you can't learn with just a wire feed Mig and some practice on scrap metal.
I really regret that I can't like this more than once.
The problem with acquiring skills is that the older one gets, the more we tend to appreciate a job done well. Learning a new skill generally means doing it poorly at first, then getting better with practice. This process can be aided by good instruction, but fumbling will never be eliminated entirely. The first time is always going to be clumsy.
There are vast differences in the difficulty of various skills we try to acquire.
Some fabrication is mostly just a matter of drilling, grinding, filing, etc.-- these skills are basic, but even here there are some basic things to know-- the hardness of various metals, the difference between various types of drill bits (black oxide, cobalt, etc.), where it's appropriate to use a step-bit, etc. My shop has about 10 different angle grinders-- not because I love buying power tools, but because I've got some set up with cutting wheels, some with grinding wheels, some with flapper wheels, and some set up with diamond masonry wheels (segmented, smooth, and cupped for various uses). Knowing what you need is not small part of getting the job done.
... but when you get to welding, it's a completely different thing. Welding is a skill that has to be acquired by practice with good tools-- taking a first step and building from there. Almost anybody can be taught fairly quickly to do a lap-joint weld with 2 pieces of clean mild steel of identical thickness, assuming the welder is already set up, the shielding gas is appropriate to the material, and the pieces are laying flat on a well-lit bench. The problem is that this is the very first step in a lifelong journey of acquiring skills and the tools needed to use them. Thinking that a lap-joint in a shop class makes you a welder is like thinking that learning G, C, and D on a nylon string guitar makes you Eddie Van Halen. Even the most instinctively talented welders have practiced and mastered various types of welding on progressively more expensive rigs before moving onto more complicated types. The whole process takes years, no matter who you are.
There are things I will weld, and things I take to a real welder. I appreciate good welds, and I know that guys who can do it well command real money. Try getting something welded on an oil field. The guys who know what they are doing won't back up their truck for less than $1000.
Painting is the same thing. I have painted cars, but I'd never be satisfied with one of my paint-jobs on a car I really care about. Guys who can really paint didn't hatch out of an egg-- they had a good deal of native talent, and they grew into doing perfect paint. If you want to learn how to paint, you are going to ruin a couple of cars along the way.
Machinists exist almost at the top of the industrial skills food-chain. Tool and die makers are at the apex. I wouldn't recommend taking anything to either one unless you really do need something made to the nearest .001.
None of us go to work for free. It's silly to think that anybody else wants to either.