Ted,


Your car is looking great!  You can make the door release rods from a coat hanger.  Use one of the thicker hangers and bend the "z" shape on the ends at the appropriate location.


In an earlier post you asked about the trans mid mount.  It is an extra support for the transmission to take some of the reaction forces off the nose of the trans housing.  Here is a link.  http://vwparts.aircooled.net/E...yeball-mid-mount.htm

I would not remove it.


Also, what width wheels do you have?  Are they 4.5 or 5.5?  They look really good with the 185 tires!


Originally Posted by Alan Merklin - Drclock. Chambersburg PA:

 inline residual valve will keep pressure up

I was just coming here to ask that question.


So, with the dual master cylinder that's in the car right now (stock 67 cylinder) - do I need a residual valve for the rear drums, if so how big (how much pressure) and where does it go inline? Do I need to shorten any of the hardlines? (because that sounds like a PITA).


Thanks!

Ted

Originally Posted by James:

Ted,


Your car is looking great!  You can make the door release rods from a coat hanger.  Use one of the thicker hangers and bend the "z" shape on the ends at the appropriate location.


In an earlier post you asked about the trans mid mount.  It is an extra support for the transmission to take some of the reaction forces off the nose of the trans housing.  Here is a link.  http://vwparts.aircooled.net/E...yeball-mid-mount.htm

I would not remove it.


Also, what width wheels do you have?  Are they 4.5 or 5.5?  They look really good with the 185 tires!


All - Thanks for the kind words. It's been a great journey so far. Fun little toy to work on. Once the weather heats up around here I will slow down. Mostly because it will be too hot to work in the garage.


James - Thanks for the info on the trans mount & the door actuator.


The rims are just run of the mill 5.5" chrome knock offs. I keep thinking about getting silver knock offs from CPI.


Ted

Last edited by TRP
Took the day off work today. Worked on the speedster.

Installed new H4 headlights.
Installed Dynamat in the doors.
Installed new weatherstriping for the doors.
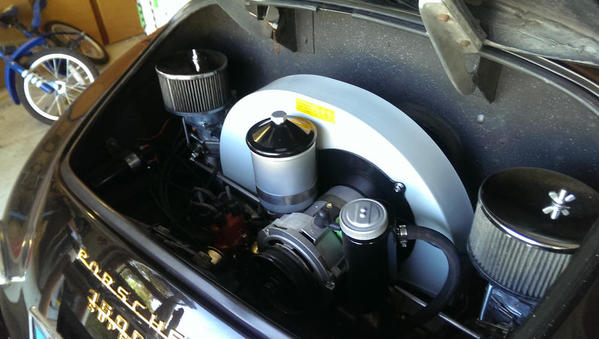
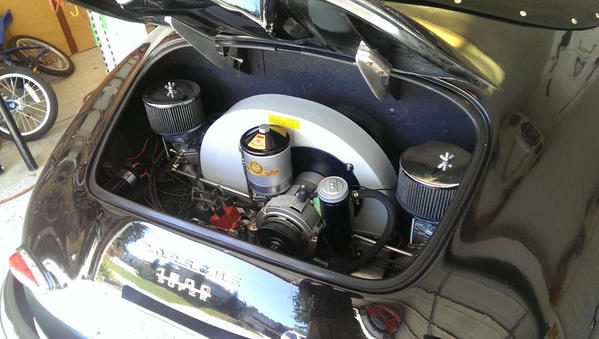
Installed Dynamat in the front trunk
Fixed the passenger inner door handle.

Car is sooooo much quieter on the road now. The doors don't rattle and the car just sounds so much more solid.

Now I need carpet for the front trunk.

Ted

Hello Ted:


I'm impressed by the improvements that you've made so far on your car.  I am getting ready to replace by front brakes with wide 5 disc brakes and was wondering what kit you went with.  To me it looks like either an EMPI kit or an AC Industries kit.  I would be interested in knowing what you used and your impression of its performance.


Also, regarding the Dynamat, I would be interested in how you tackled the door pannels and whether you also considered installing dynamat in the rear of the passanger compartment to quite down the engine noise.  I know doing this is a big job as it pretty much means peeling off the existing carpet when may or may not be able to be reused.  However, I'd have to thing doing so would make on heck of a difference considering what you noticed just with the doors and noise and solidity.


Your input and observations would be greatly appreciated.


Thanks, Grant

Grant- Instead of mounting the soundproofing on the inside (under the carpet), how about putting it on the outside of the rear cabin wall? It would probably mean that the engine would have to come out, but you wouldn't be pulling (and possibly ruinning) the back wall carpet. Sounds like a good winter project...Al

Hey Guys,


With the Dynamat, I removed the door panels and the interior hardware and installed the Dynamat on interior of the door skin. For some loony reason I wanted to do it in one piece. I rolled it up like a big taquito (or for Vince... like a doobie). I peeled 2" of the backing off one end and rolled it down. Then I removed a little of the backing as I unrolled and the taquito (doobie) - rolling it down as I went. I could have saved a lot of headache if I had just did it in three or four small pieces. However, now I have one neat piece on each door, hidden forever behind the door panel. The doors no longer sound like a drum.  My next trick will be to do the engine compartment. Next time I pull the motor I'm going to build an aluminum firewall similar to Mango's but I'll lay down some dynamat first. Coating the inside of the rear seat would be much more difficult and would require pulling the carpet (and likely ruining it.) When it comes time to replace my carpet I will go ahead and do the entire cabin area. No reason not to.


The weatherstrip was the standard 5/8 x 1/2 D profile shaped stuff from McMaster-Carr. I used the D shaped stuff and backed it up with a strip or two of 1/2 x 1/8" rectangle stock. I will try to attach some photos in a bit. I basically used the rectangle strips to 'build up' the thickness of the D stock on the vertical seams. I took care to cut the corners in nice 45 degree angles to they would look tidy.


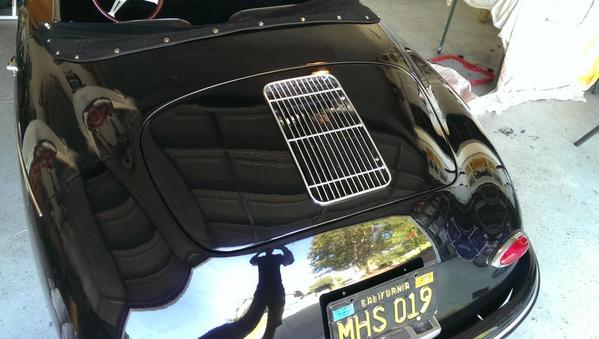
I also took on a bigger challenge this weekend. I replaced the CMC grill with one from Sierra Madre.


Last edited by TRP

Ted:


Thanks for getting back.  I am planning on running the AC Industries kit as well.  I know Andy at So Cal Imports (the "A" in AC), and he is a good guy making quality products.  In fact, these are the parts that Vintage Speedsters uses when they run 5 wide options on its cars.


Glad to hear the install went well.  Mine will be alittle more involved as I'm already running stock VW 4 lug discs up front.  So going to the AC kit I will have to change out my disc spindles for drum spindles.  At that point is also makes sence to change out the ball joints as I know both lowers are bad.  But I am looking forward to the conversion as it will allow me to get rid of the 4 lug wheels and run the Mangels 5 wides with drum skins that I've been wanting to do since I bought the car over a year ago.


I'm now looking at black 12x1.5 studs to run all around with open lug nuts to finish off the look.


It's a work in progress.


Thanks, Grant


IMAG0315

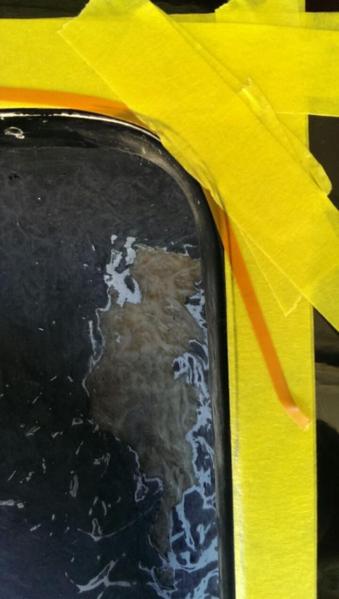
First I started by masking off the existing hole. I traced the shape of the new grill onto the tape.


IMAG0316

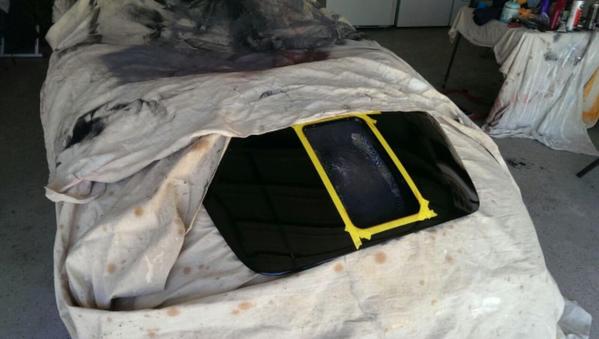
It appeared that I would be trimming off most of the inner molded lip of the existing decklid.  It was going to be messy.


IMAG0320

So I masked off the car with drop cloths.


IMAG0321

And some news paper..


 IMAG0322

After a bit of cutting and fitting and cutting and sanding and fitting.. it was pretty close.
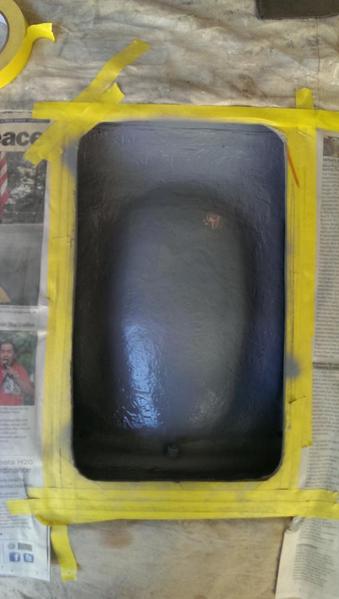


IMAG0323

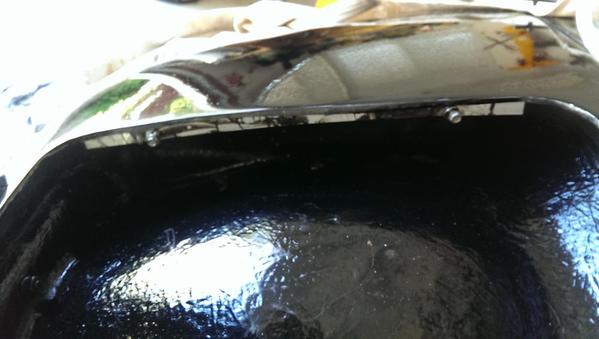
The inner tray was cracked and peeling a bit, so I primed it with some hight temp primer.
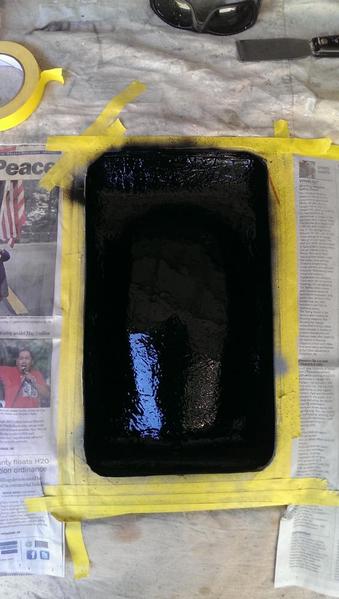


IMAG0324

And then some high temp black. In hindsight, I should have used matte black or dark grey.
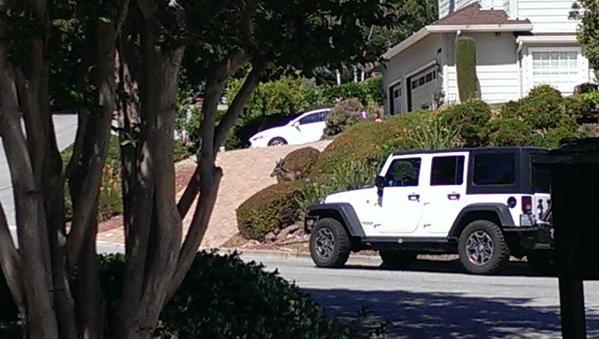


IMAG0326

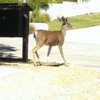
About this time a buck showed up...


IMAG0327

He came across the street and ate my wife's roses.


After I removed the masking tape and the paper, it looked pretty good.
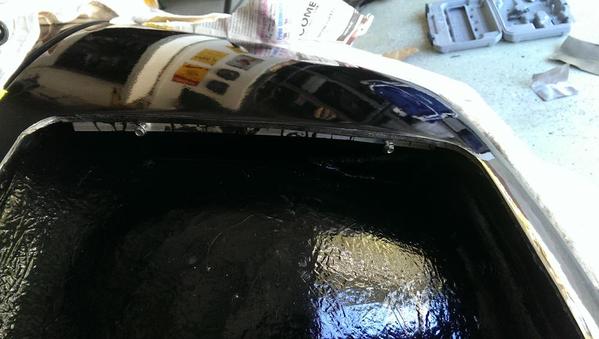


IMAG0329


IMAG0330

The decklid was a bit flimsy so I epoxied some L channel aluminum to the inside of the lid.  I predrilled the mounting screws.
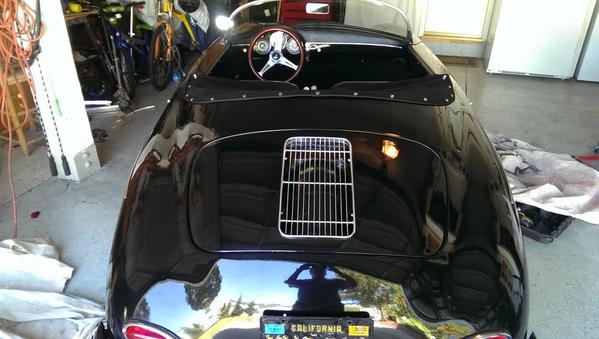
 

IMAG0331

A quick shot of the mostly finished product.
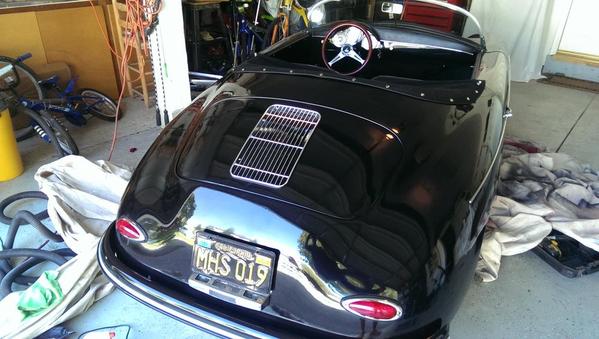
 

IMAG0332

And another...


IMAG0333

A few more. I installed the grill and a new gasket as well. Looks good. I may have to go back in enlarge the hole a tiny bit more. The grill is hanging up on something so it wants to 'teeter totter' a bit.


All in all, not a bad quick project.


Thanks for letting me share,
TEd


Attachments

Images (15)
  • IMAG0315
  • IMAG0316
  • IMAG0320
  • IMAG0321
  • IMAG0322
  • IMAG0323
  • IMAG0324
  • IMAG0326: Then a
  • IMAG0327: Then a buck came by...
  • IMAG0328
  • IMAG0329
  • IMAG0330
  • IMAG0331
  • IMAG0332
  • IMAG0333
Originally Posted by GTman:

Ted:

I'm now looking at black 12x1.5 studs to run all around with open lug nuts to finish off the look.


It's a work in progress.


Thanks, Grant


Hey Grant,


If you find those black lug studs and bolts that thread in, please let me know. The 'correct' ones have to be pressed in and unfortunately we can't do that with the AC kit.


I want to do the same upgrade.


Which skins are you going to go with? I think the Fibersteel ones are what I will be going with. I just need to sort out a tow bar for the West Coast meet before I can focus on any other updates / modifications.


Looking forward to seeing how your work in progress... progresses.


Take care,
Ted

Originally Posted by Lane Anderson - Mt. Pleasant, SC:

Guys, I used B-quiet in the engine compartment and a thicker product (whose name I forget) under the carpet in the interior.  It was quite a job and while it's a bit quieter, it's hard to say if it is enough to justify the work.

How is the B-Quiet holding up to the heat in the engine compartment?


Any concerns with it falling down or slipping?


T

Originally Posted by GTman:


Ted - also I ended up buying the drum skinz from CB performance I believe.  They were less expensive, and I ended up painting the wheel bearing cap black myself.  About a 30 minute project.


Thanks, Grant


Drum skins on back order.

Thanks for the info on the black lugs.

Ted
Originally Posted by GTman:

Ted - I found the black studs and will send you the contact info.  The are the type that needs to be pressed in.  However, I am going to cut that end off, screw/locktite into the drums and discs.  Then the issue is what color for the open lug nuts.  Black or zinc ?


Originally Posted by TRP:

Hey Grant,


Thanks for the info on the skins. CB has the drum skins on back order.


With the lugs, will that work? Cutting off the end and then using loctite to secure them? Could be a great idea it it works out!


Ted

If you're buying wheel studs that are meant to be pressed in from the inside, why not have the drums/discs drilled for the proper interference fit (and the insides spot faced) and press them in the way they're supposed to be done? I know it's a little more work, but I don't know if I'd trust a threaded piece that's loctited in place, especially with no interference fit. Doesn't sound too safe to me....

Add Reply

Post Content
×
×
×
×
Link copied to your clipboard.
×
×