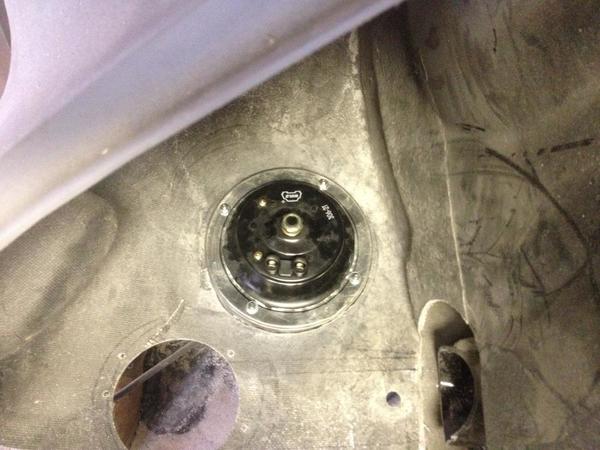
OK, folks, I've not got started yet but am noticing some things on the kit I need to ask about.

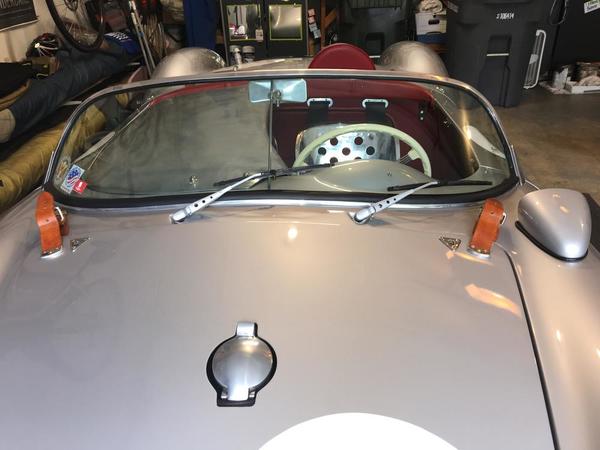
Does the TR Spyder kit come with the fuel fill hole already cut in the hood?

IMG_8267

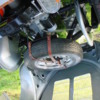
Because mine does not in any way line up with the one in the purported fuel tank. IMG_8266

The tank is sitting in the spot it appears to have to go. It is oriented as it must be. The hole for the filler is where it has to be—the old sender hole, right?

IMG_8268

So I figure I'll have to FG over this hole in the hood and cut a new one five inches lower, which is no big deal. But before I start I want to check with everyone to make sure I'm not missing something obvious & there isn't some other, better way.

Attachments

Images (3)
  • IMG_8266
  • IMG_8268
  • IMG_8267
Original Post

Replies sorted oldest to newest

Gonna glass over the hole and cut anew. Thanks all.

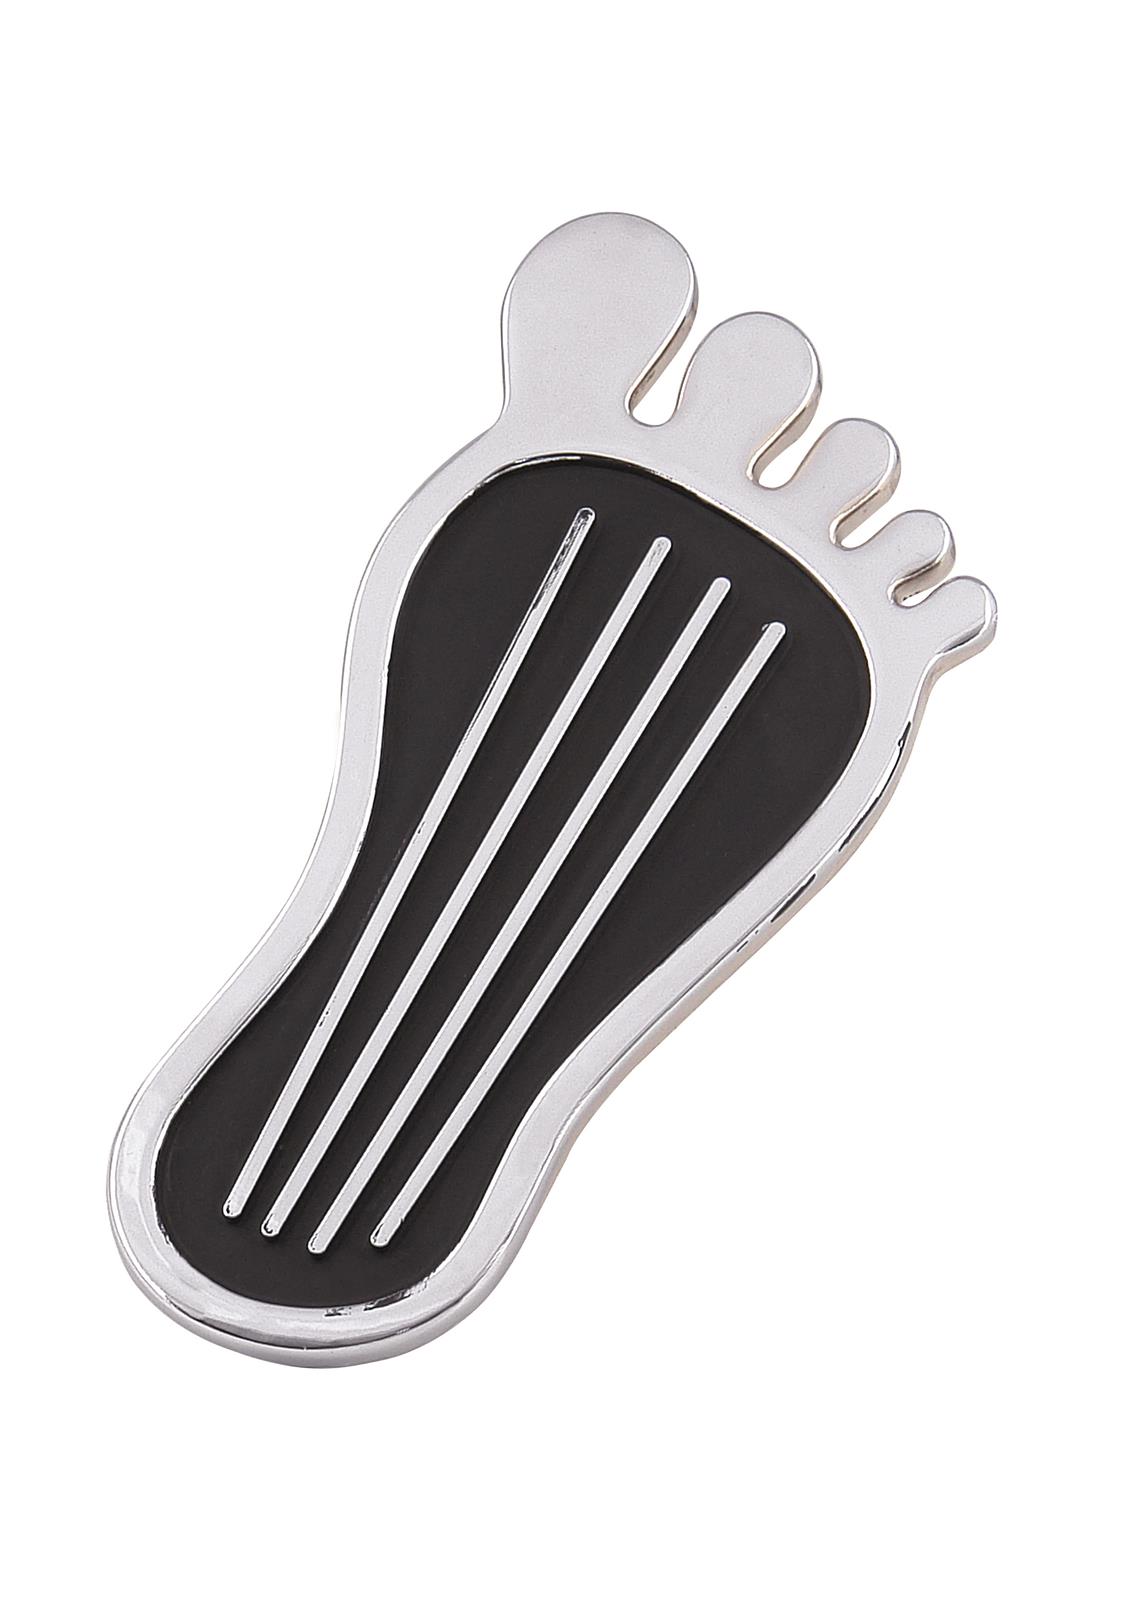
Now the next item of business: the gas pedal. I need one.

I have a clutch and a brake pedal, each with its own MC/reservoir thing. No go pedal.

The floor has a little steel L bracket with a big hole. I am told this is the standard rig. I have not yet seen just the Spyder-style gas pedal for sale. Can someone direct me to that?

Last edited by edsnova

Thanks Arajani. I was thinking the same.

It's a new gas tank. Well...10 years old but never once had any gas in it. I suppose I could have my muffler guy look at it. His guys like to weld stuff and they're pretty good at it. 

No biggie to re-glass though. I've been playing with fiberglass all winter and I have a bunch laying around.

So about that gas pedal. Seriously. No one knows what part that is? I see Fibersteel sells a very nice 3-pedal rig for like a gazillion bucks but I really only need a go pedal, as the other two look the part. A picture of someone's setup would even help. 

Ed, since I don't know jack about FG, and only understand steel a little bit, I think I'd see about a gas tank that works with the hole you have in the hood.  Authentic, and all like that. Plus might leave some room up there for something besides the tank and a bunch of frame parts.

Gas pedal? Is this just the VW arrangement sans the other two pedals?  Probably not, but if so, then these OEM sort of things are pretty cheap.  Cut off the part you dont need and rave on.  Likely not that simple.  Sorry, don't listen to me, as I don't really have a clue here. Trying to remember my old 356 lash-up.  Believe it may have been rod and socket all the way, no cable.  Now, that would be authentic, if you could manage it.  What you can trust me on here is the following:  That rod and socket contraption was a real PITA.

Very cool with the functional Jack points!

If I could do it again, I'd move the filler where yours is. You can probably get the full 8 or 10 gallons in there, plus it looks better.

Ed, I have a gas pedal. It's a Neal that is cut at an angle, painted black so you can't see the red kit-car looking Neal, and covered with an aluminum, nice looking pedal cover.

Made some more progress today on the build. Fixed a stress crack in the hood, ground and painted my frame extensions and did some other stuff.

While under the car I took a measurement from the front firewall to the beam. 6 1/4 inches, roughly.

The VW master cylinder is a bit more than 7 inches. 

I have an idea of how to make one fit, but I wonder if anyone has the solution to this already set so they can share it with me.


Pretty much. Remove the axle tube boot bolts on trans end. Use the nut on the end of the axle to pound on while pulling axle tube straight outward. Use a dead-blow.

The outer bearings are about $15-30 each, I replaced mine. Should come off with a really good smack or three. I think I slid a socket over the end of the axle and let that strike the nut.

Get a long and large pair of needle nose and grind into the ends so you can get the heavy snap-rings in the diff out to get the spade ends of the axle out. I can talk you through it if need be.

BTW, your jack points look great!

Last edited by DannyP

Thanks, Danny. I checked-in with Sartwell and he told me to just bring the whole mess and he'll install all the o-rings and gaskets on the end correctly for me after doing the new ring dear and .93 4th. I have a whole box of new parts as well: bearings, bearing covers, all the bolts, all the gaskets. So I'll just drop it all off at his shop soon enough. Fingers crossed.

IMG_9004

Now back to the horn pockets.


Attachments

Images (1)
  • IMG_9004

I had not heard of his Spyder hate.

He seems to be fine with the flipped R&Ps. When I had him do Bridget's box he was looking for an earlier case for a guy with a trike. I traded mine for a later, single side cover unit. At the time he was also finishing up a 6-cylinder Beck Spyder.

The last trans he made for me is good, and so is the one he made for Cory. The one I'm giving him to work on is already built and just needs the R&P and 4th gear changed out, so I expect he can handle it. 

Attachments

Images (1)
  • mceclip0

Trans is dropped-off at Jimmy's new shop. Lotta cools stuff there, but we were both on the move and so I didn't take pics.

914 gauges shipped to N. Hollywood Speedo for estimate. I forgot to put the note in the box telling them what I wanted, but they called as soon as they got them & we straightened it out. Those gauge jobs are like a 6 month lead time, so I'll probably set the car up with the re-pops for early sorting. The binnacle gets like a silver hammer tone finish so it shouldn't be a big deal to cut the holes later and install a plate with the new gauges in them.

Currently smoothing the inside of the rear clamshell: three skims with Fibral and a final 2 or 3 with regular filler. This is all going to be painted body color so i want it smoove, mostly, as on the originals.

IMG_9029IMG_9030IMG_9031IMG_9032

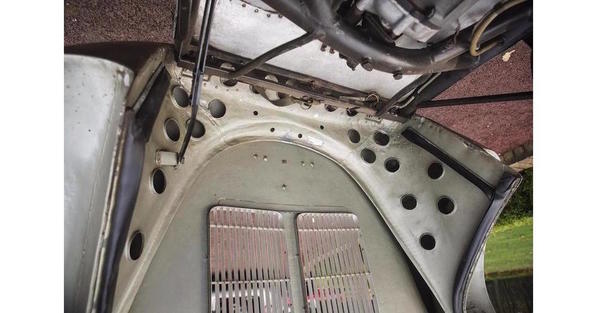
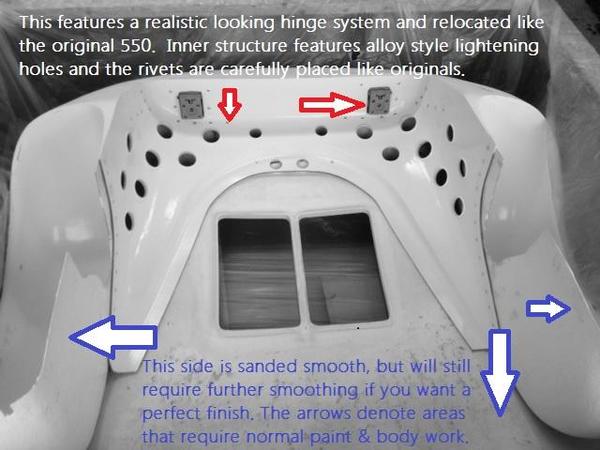
That line near the bottom is a guideline for the inner brace—that Swiss-cheese-looking bit of bent aluminum that all the original 550s had and almost none of the replicas do.

rear clam detail 3 0090rear clamshell int detail

What is most interesting to me is that the top lip of that piece is not bonded or welded to the clam itself. There's always a gap. I've already mocked it up in cardboard but I'm not quite sure yet how to make the aluminum version stay. Looks like maybe an L bracket, bonded in at the bottom of the V, held to the brace with a couple rivets...
IMG_9027

Attachments

Images (7)
  • IMG_9029
  • IMG_9030
  • IMG_9031
  • IMG_9032
  • rear clam detail 3 0090
  • rear clamshell int detail
  • IMG_9027


Well, here's one replica that has that support piece - or at least an interpretation of it:

Spyder01

Have you heard of 502 Motorworks ? These are high-end cars, made in aluminum, and supposedly homologated to race against original cars in historic events. They had one on display at Monterey.

Did I say high-end? Prices start at 'under $100,000'.


For a roller !


Spyder02Spyder03Spyder04Spyder05Spyder06


Attachments

Images (6)
  • Spyder01
  • Spyder02
  • Spyder03
  • Spyder04
  • Spyder05
  • Spyder06

Yup. Familiar with those. All aluminum, and very nice. I thought they were more like $300k.

FYI I've been away from the garage for a while and will be away this weekend too. But by way of update, I made a press mold for the rear inner aluminum and pressed the center bit as a test. It's not quite right but I think this technique will work with a bit of tweaking.

I also splurged on a set of planishing hammers and dollies, and a couple of flangers to facilitate said tweaking.

I'll post in a couple weeks when I return to it.

The guys from 502 are amazing -- really knowledgeable, very kind and extremely helpful. I know them well and have interacted with them (last a Monterey two years ago). 

The price of under $100,000 seems to be for a body and chassis (from their website). I'd imagine that, once it is painted and fully assembled, it would be in the $200-250k range. 

The most elusive aspect of the Spyder is the rear fenders. It is a tough shape to get right. Even with the variations between bucks within the Wendler plant, many of the replicas are still a bit different. 

The best I've seen is the one from Rusty Tubs. 

Anand

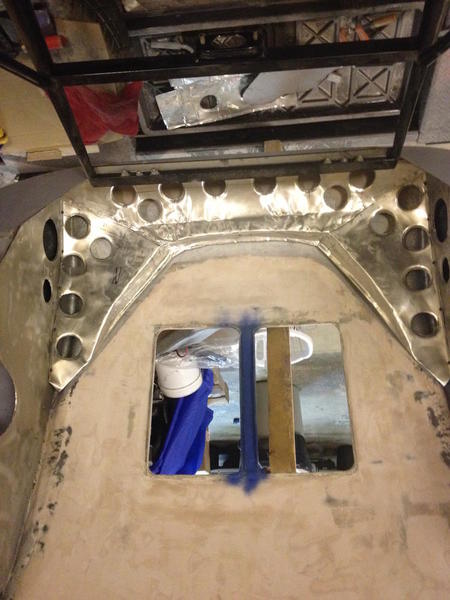
Been away from the Spyder for a couple weeks: trips to see the eclipse and then the inlaws. Today I bought a couple sheets of 22 or 24-gauge aluminum sheet to do the inner clam panel with, when final. I've bent some scrap this thick and also some flashing, which is about half as thick (and wrinkles quite a bit), working out the shapes and planning. Here's the center section from that first try with the thin metal.

IMG_9143

I think the thicker metal will look better and also be a lot stiffer. I also think I'll be able to braze it together rather than relying on rivets and body filler.

Attachments

Images (1)
  • IMG_9143

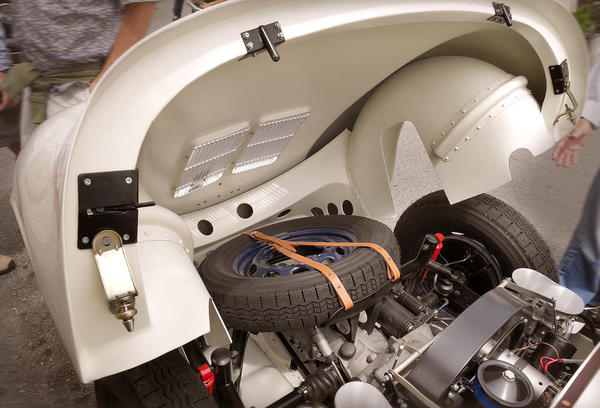
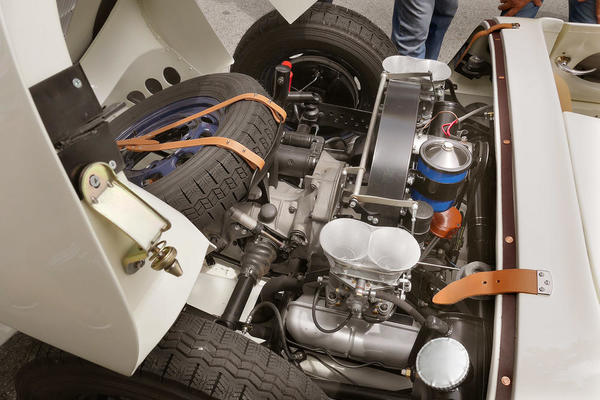
Looking good Ed. I was over Bill's place in Potomac MD last Monday his 550 is now up and running. He's done some really slick mods to add more cool air from the grills toward the engine. Basically he designed sort of a wing under his puller fan that's attached under the grills with SS sip ties. It pulls the air in then blows it on the wing which then moves it to the engine and carbs. Also built in the wing is his oil cooler which receives the fan air as well. It works really well and when kicked in without the motor running sounds like a turbo-jet. You gotta see it. Unfortunately I've got a pretty good oil leak going since my engine pull in July not sure where it's coming from but every time I drive it I'm cleaning up oil. So I have to take the engine out again what a pain.  Makes me think about doing something similar with a smaller fan under the spare wheel. I like the look of having the spare. Bill is not using his. 

Pete

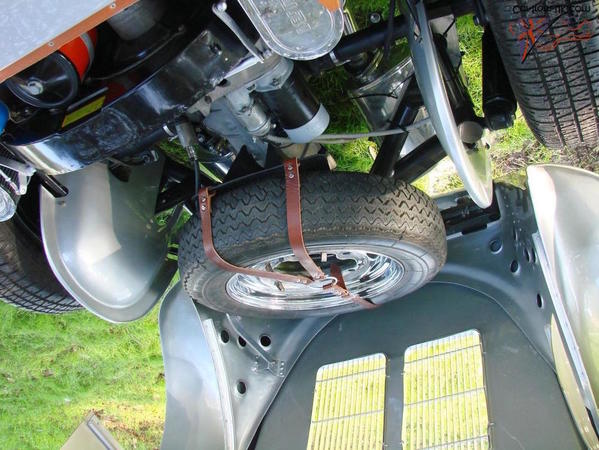
Continuing. Gonna start final smoothing and paint on the inner clam this weekend (fingers crossed). Here's a selection of inner clams (all oriented similarly) for comparison purposes:

550-0090 (the one Spyder Factory, Alloy Cars, etc. all copy):clam detail1 0090 copy

Here's one from a UK-based high-end replica maker:

UK alumkit inner clam copy

from Rusty Tubs' $4,500+ fiberglass "clam correction" kit:

rustys inner clam copy

And Ed's homemade Crinkle Clam (TM):IMG_9258 copy

Attachments

Images (4)
  • clam detail1 0090 copy
  • UK alumkit inner clam copy
  • rustys inner clam copy
  • IMG_9258 copy

Danny's got a Jamar that he modded. Bought good heims and booted them.

I'm curious to know why the shifter would move more with a cable rig than a solid linkage. I hope it's not because of my linkage mods. 

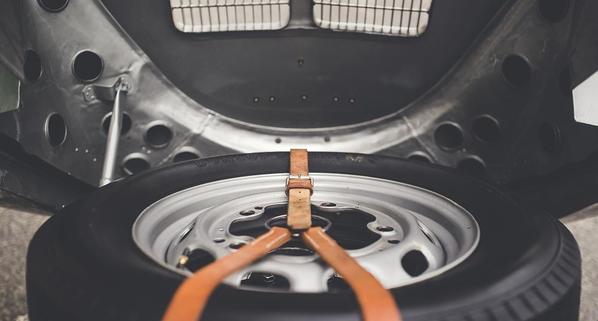
Spent six hours today on the spare tire rack. Yes, that is a bent Spyder-style tail brace, and yes, I do also plan to make Spyderesque forebraces for it, with hidden bolts so it's removable.

The shock-tower brace will also be reformatted for extra strength.

(previous identical post deleted to correct faulty link)

Attachments

Images (1)
  • mceclip0

Great job Ed! Did you happen to weigh the piece before and after the holes? 

When I was drilling the hardened gears for my trans I had to buy carbide drill bits (HSS and even cobalt would barely make a mark), which when you break a bit (2-1/8" at $22 each and 1- 1/4" at over $50) in the middle of a set up it got pretty frustrating. I can't say enough about rotary tables, though- pretty neat equipment!

I've not weighed the stuff but I'm pretty good at estimating weight, and I estimate the big tubular piece (including the through bolts) is about 6-7 pounds. I'll look around for a fish scale to weigh it. The modified cross brace is about 6-7 ounces heavier than stock, and that saddle is a few ounces. The "Swiss Cheese" inner bracing is ridiculously light. Maybe 2 pounds, 3 tops.

I estimate the whole aluminizing-and-details project will total under 50. Maybe under 40. Running Vintage 190s instead of steelies should more than make up for the extra weight. 

btw your car is awesome. I might copy the drilled wiper arms. Love the hard tonneau. 

Last edited by edsnova

I love seeing what other people are doing because I love the details, sometimes it makes me laugh at myself. For example, I built a big 3/16" thick steel structure with welded cross members to support my front bumper, it probably weighs 25lbs. then I built a steel tube frame that hung off of it to support the battery, it probably weighs 3 or 4 lbs, total 29 lbs. Then I built a 16 ga sheet metal tray for the battery, probably 1 lb. then I punched and drilled a bunch of lightening holes in the sheet metal tray, probably saved 5 grams! BUT!... it looked cool!  I think I'll add a second battery and drill out my wiper blades!

Post Content
×
×
×
×
Link copied to your clipboard.
×
×